Hey guys!
Today I’ll be sharing part 2 in the “How to Take Better Food Pictures” series my friend Ben is writing for me. He’s starting basic and working up towards more advanced!
In case you missed part 1, check that out first: How to Take Better Food Pictures. Enjoy!
 Canon Powershot
 iPhone4
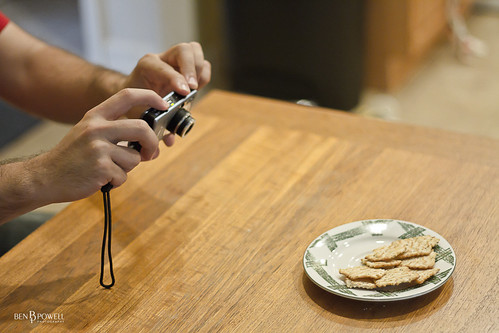 Taking it handheld?
 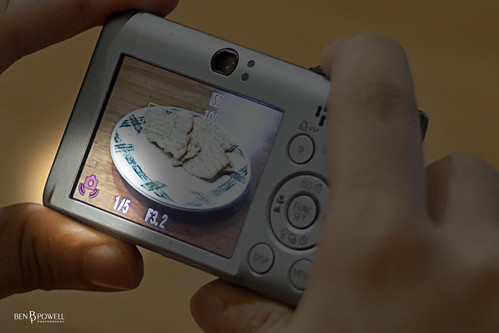 Better Read the Signs!
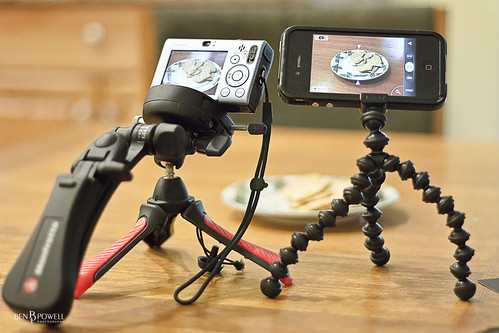 Mini Tripod and GorillaPod
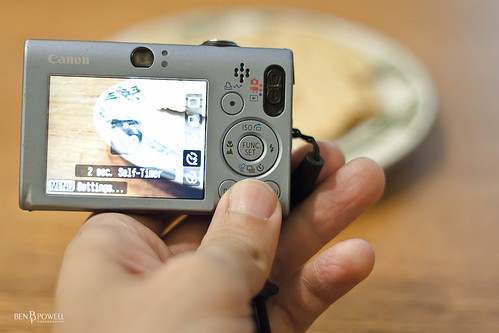 Timer Button on my Canon Powershot
 Timer Button on a Canon Rebel t2i
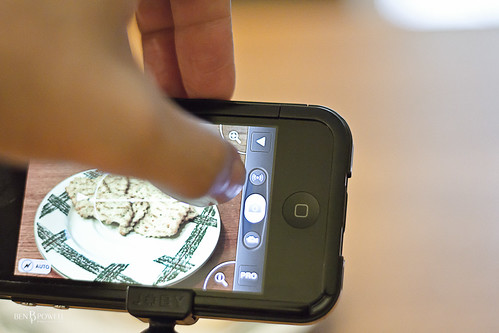 Anti-Shake Button on the ProCamera app
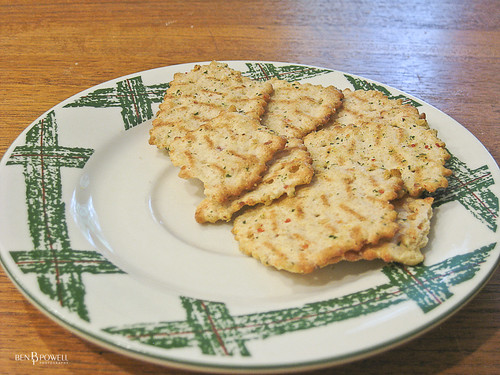 Canon Powershot
 iPhone4

 Fun, huh? 🙂 Thanks again, Ben!
Want to save this post?
Enter your email below and get it sent straight to your inbox. Plus, I'll send you great content every week!
–
How to Take Better Pictures of Your Food
Part 2: Stabilize Your Shot!
by: Ben Powell
–
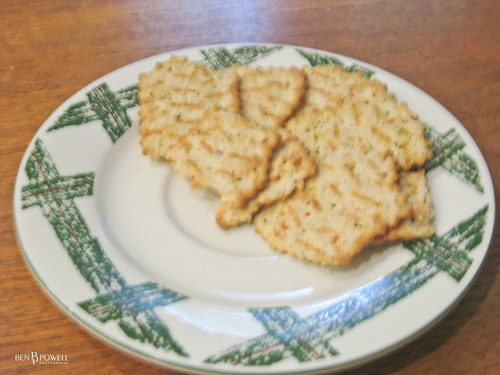
Hey everyone, I’m back with another food photography tip! We’re still starting with some real basic concepts but I’m sure this is something even you DSLR users either forget about, or don’t go through the trouble to do. But it’s super important! So without any further delay, here is food photo tip #2: Stabilize Your Shot! Last time we talked about how you should get rid of the flash so your food doesn’t look so washed out and how natural light is really the best thing for your food to look good. But what happens when it’s night time? Or you just don’t have a good source of natural light? You may notice that when you take pictures of your food without flash sometimes, the colors may look better but the picture comes out so blurry! Check out these shots:
Canon Powershot
iPhone4
Taking it handheld?
Better Read the Signs!
Mini Tripod and GorillaPod
Timer Button on my Canon Powershot
Timer Button on a Canon Rebel t2i
Anti-Shake Button on the ProCamera app
Canon Powershot
iPhone4Much better, huh?
Stay tuned for next month’s tip!
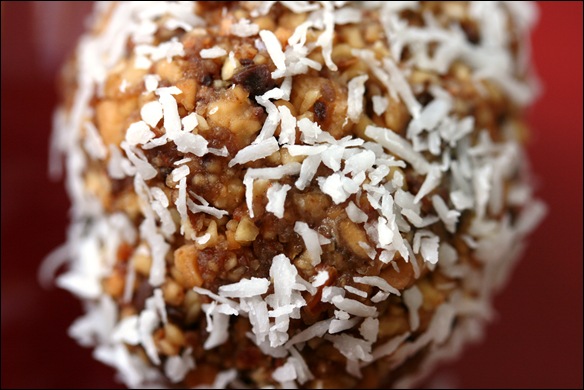
Ben is a freelance photographer and musician in the DC Metro area. Need a portrait, wedding, or engagement photographer? Click here for more details.————- Thanks for the great guest post, Ben! I actually just purchased a tripod the other day — even though I do almost all my food photography outdoors (and therefore don’t need to worry much about motion-blur), I found that even if I’m outside, if I’m using my macro lens to take REALLY close shots (like the one at the top of the post) it’s hard to keep still enough without a tripod. I love the 2-second timer tip — I’ll try that next time! Do you guys have a tripod? Have you ever used the 2-second timer option? ———- Oh, and while we’re talking about Ben — remember that fun photo shoot I did with him a couple months ago in DC? He sent me the rest of the photos! Here are a few of my favorites 🙂

 Fun, huh? 🙂 Thanks again, Ben!